Logging
Penta Performance Logger
What is Penta Performance Logger?
The Penta Performance Datalogger is a specialized memory logger designed for data-driven vehicle tuning, specifically tailored for Volvo Bosch ME7 and ME9 ECUs. Datalogging, in the context of vehicle tuning, is the automated process of recording various vehicle performance parameters in real-time. This is achieved through software that interacts with the vehicle’s Engine Control Unit (ECU), capturing and recording essential data points over a specified duration. The Penta Performance Datalogger stands out from other dataloggers as it reads data directly from the ECU, offering a more accurate representation of the vehicle’s performance. This tool not only passively monitors these parameters but actively records them, allowing users to retrospectively view how these values fluctuated under different driving conditions or modifications. The data is then stored in a CSV file for further analysis, making it a powerful tool for vehicle tuning based on concrete data rather than assumptions.
How to Install?
Installing is straight-forward and easy. Just follow the steps below:
Step 1:
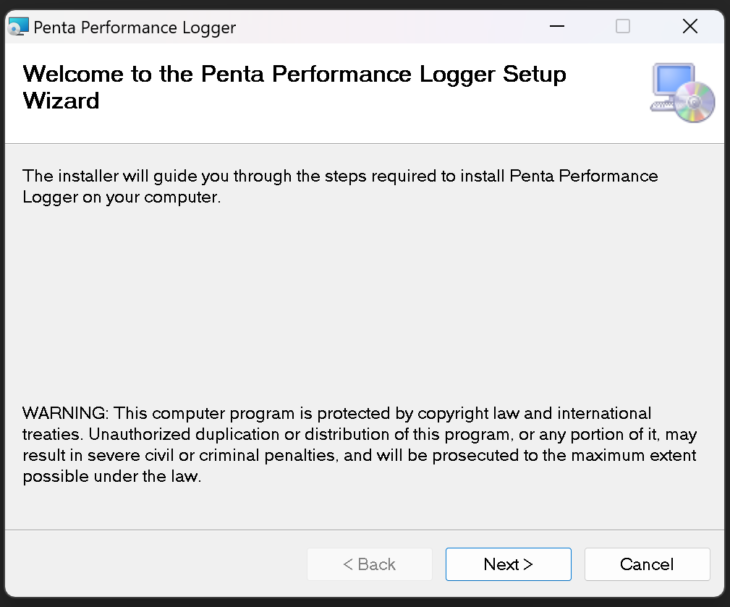
Download the Penta Performance Logger. The link has been provided to you together with the access token. Once you download the installer, run the installer and follow the instructions.
Step 2:
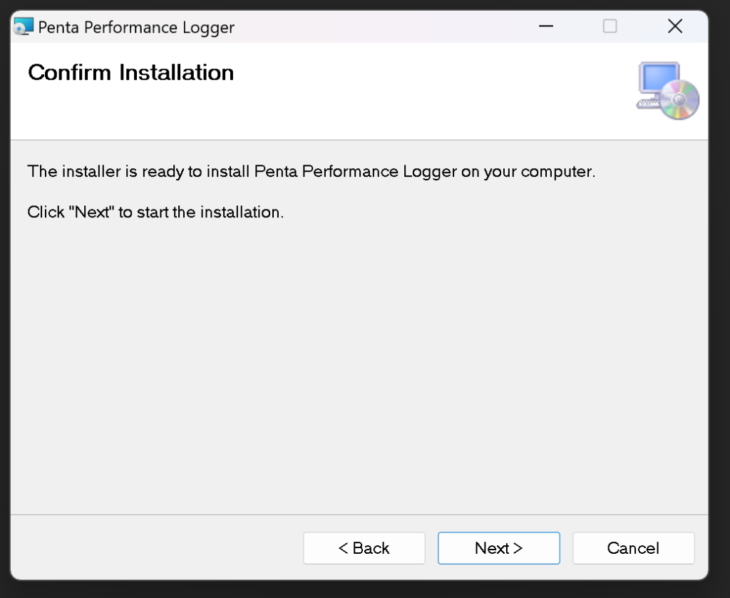
Once the installation is finished, a shortcut will be created on your desktop. Double click this shortcut to run the program.
Step 3:
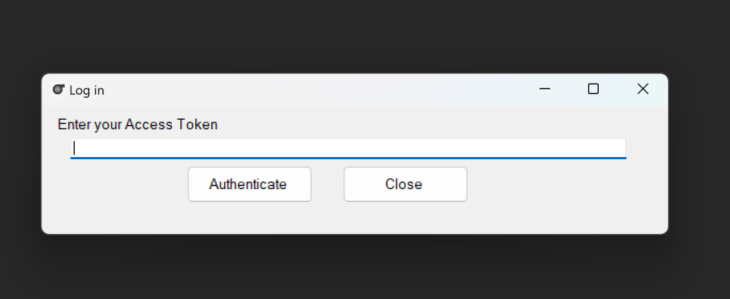
The first time you run this program, it will ask you for an Access Token. Type in the Access Token to initialize the application. Internet access is required.
Step 4:
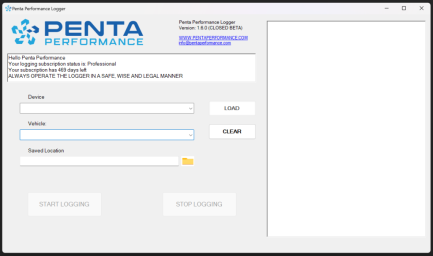
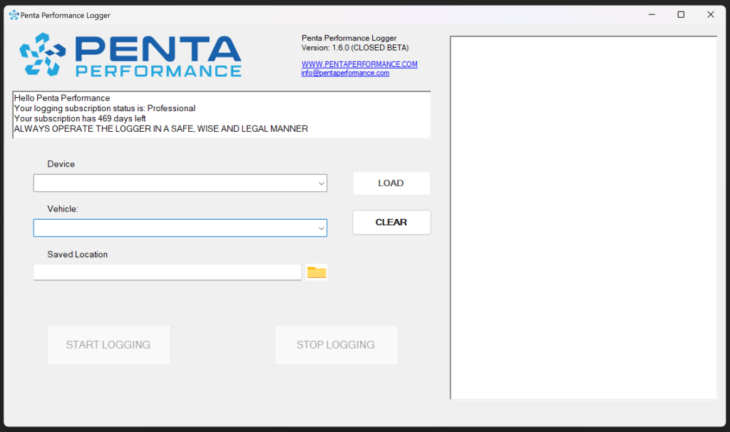
If the Access Token is successful, the program will open. You should now see a similar page like this.
How to Use?
Step 5:
First choose the device. If none are showing up here, that means the drivers for those did not install properly. This logger is compatible with J2534 Passthrough devices and Volvo DiCE tool.
Step 6:
Next, choose the vehicle that is suitable for your car. Lastly, choose the saved location of the logs. Once all three of these are clicked, the Load button will now be active.

Step 7:
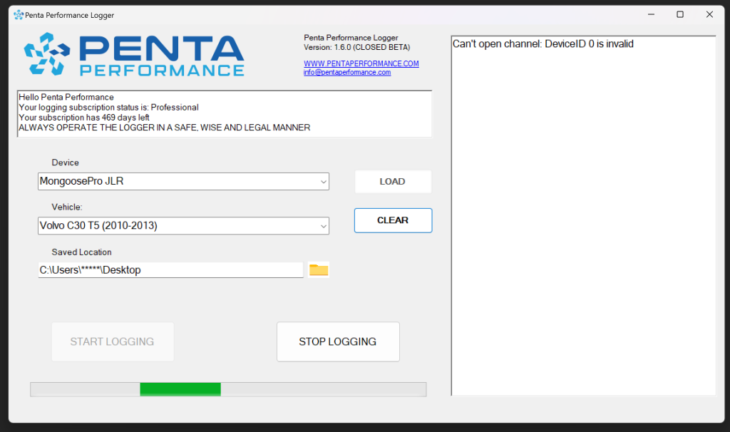
Once the variables have been loaded, the “Start Logging” button will be active. You can click it to start logging. Once logging has commenced, you will see the status bar move.
Step 8:
To stop the operation, click on Stop Logging. A CSV file will automatically be saved. If you want to log again, just click Start Logging again. Each instance will save a new CSV log file.
The format of the log is “Log(Date-Time).csv”

Step 9:
Do a test log! Before running off and doing your log pulls, test if the logger is recording properly. Start the logging process and just drive normally around the block. Check the log files to see if the data is true and correct. If not, then it is possible you have chosen a different vehicle model. Change to a different model and see if those work. Once you can get decent data from it, you can start the actual logging process.
